Block Printing
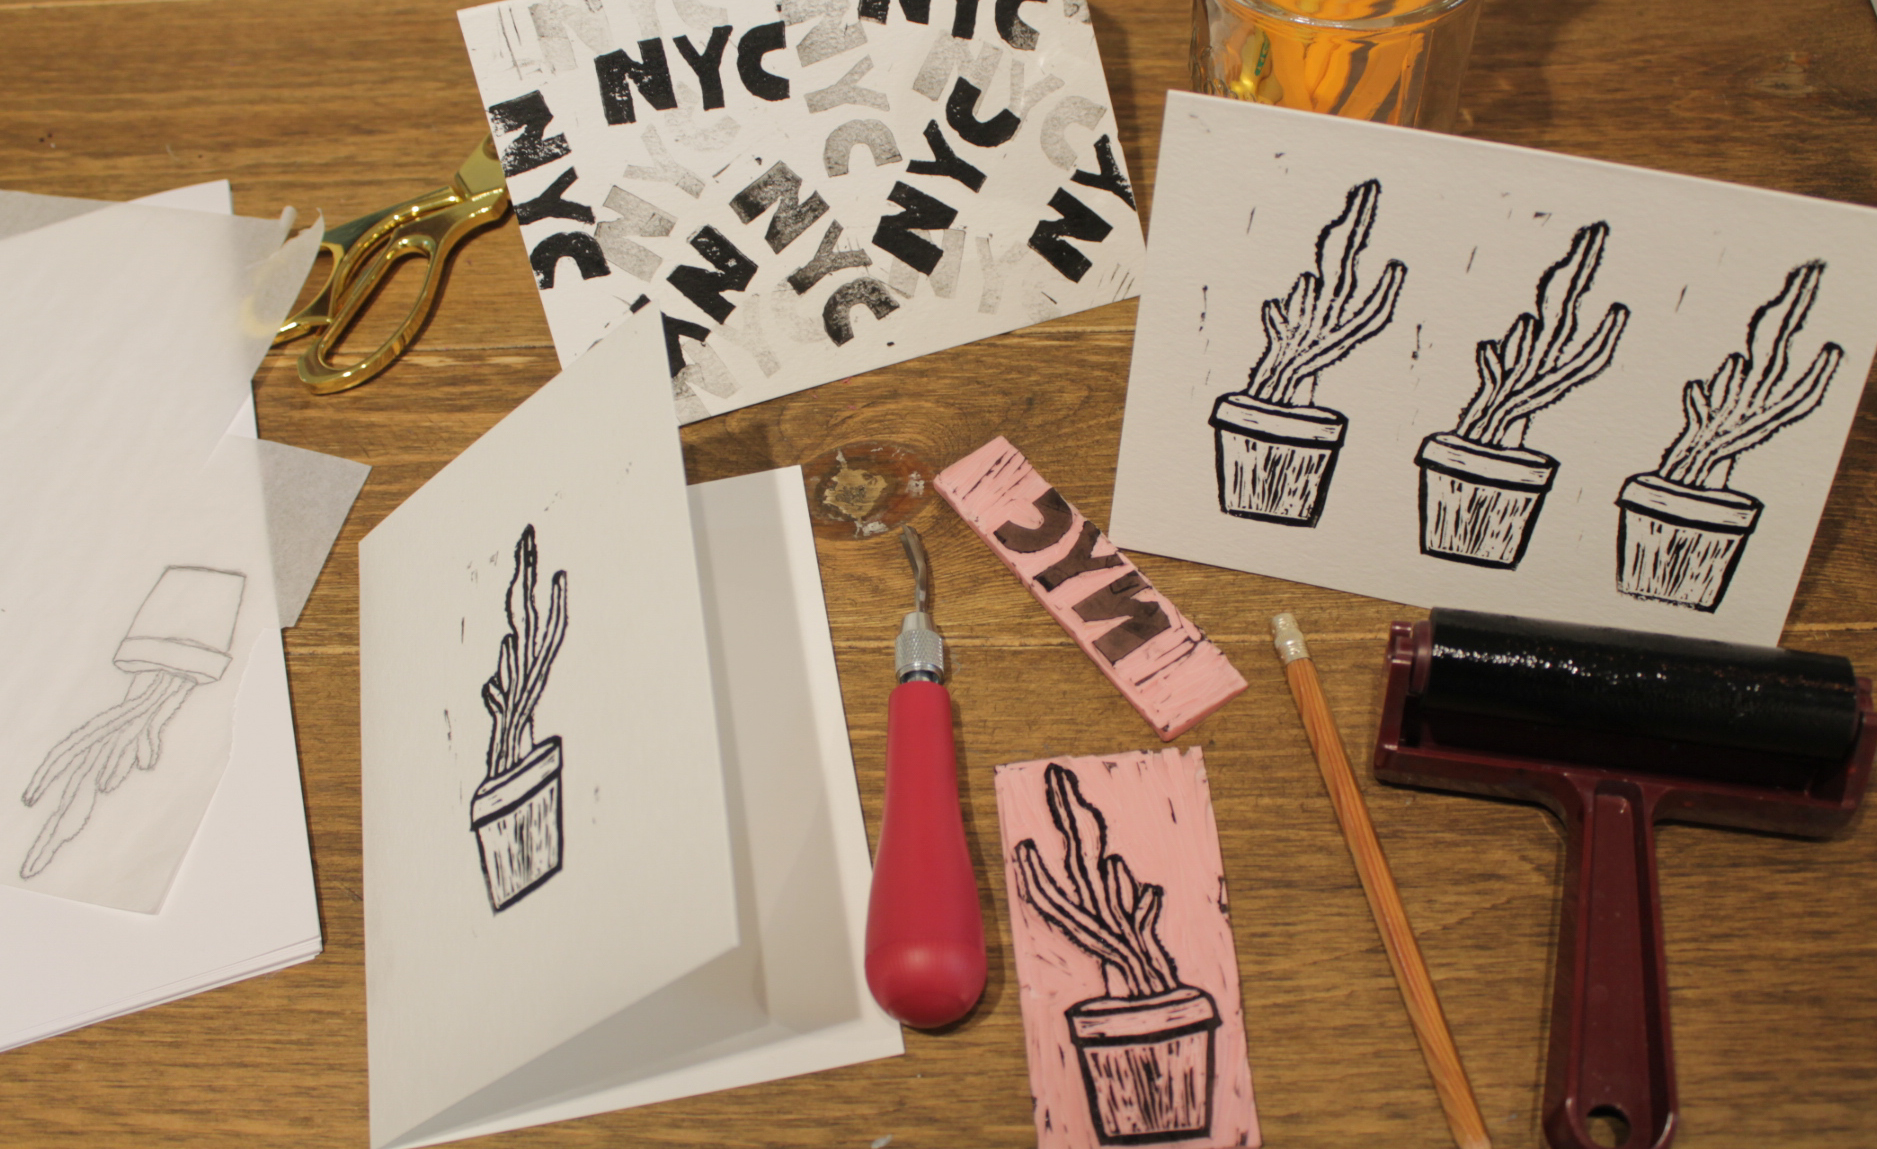
Block printing is a printing technique used to copy a design onto paper or textiles using a block or stamp. The block is carved with a relief pattern, meaning the white parts are cut away from the block and the remaining image is the design. Ink is applied to the block and then printed onto paper or fabric.
HOW TO DO Block Printing
SUPPLIES
Fabric Block Printing Ink or Block Printing Ink
Rubber Brayer
Speedball Speedy Carve Carving Block - 3"x4”
Speedball Linoleum Cutter
Plexiglass - 12" x 12"
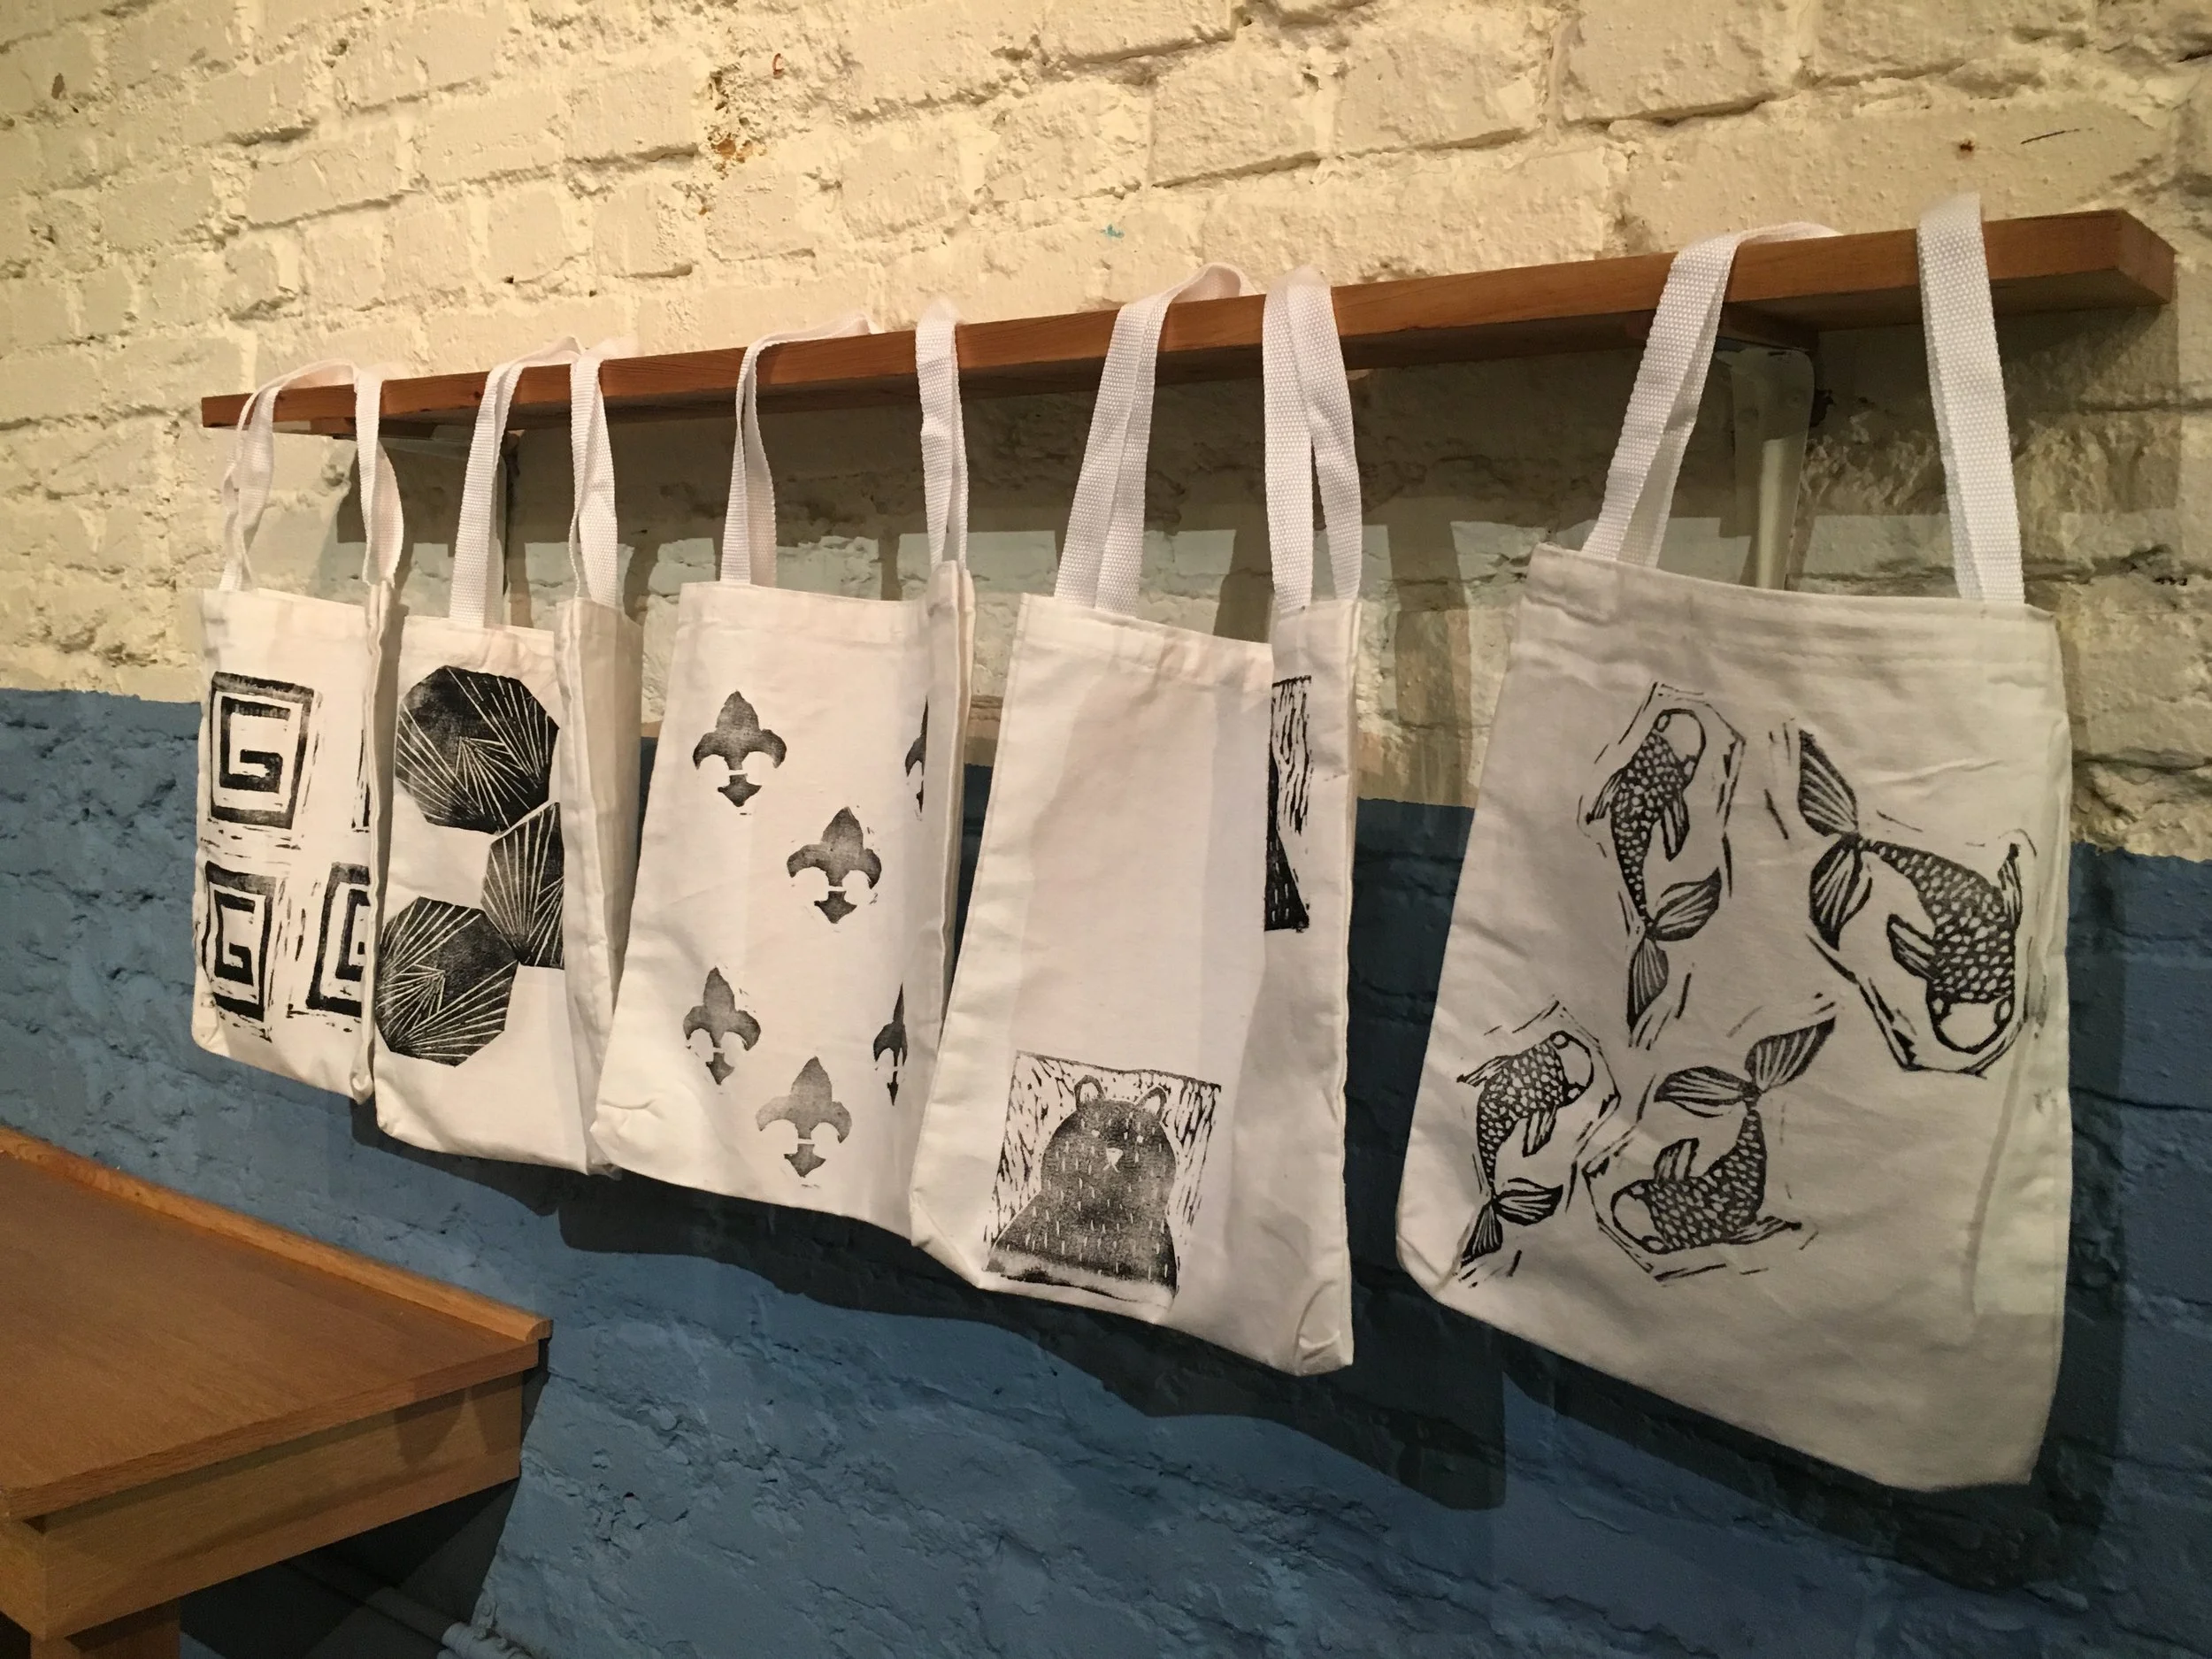
Cotton Canvas Tote Bag or Blank Cards
Paint Sticks
Plastic Cups / Mason Jars
Pencils
Paper
Hard surface for fabric
Tracing Paper
Step-By-Step
1. Sketch or print out a design
2. Transfer design
Trace your design on tracing paper with a pencil. Flip over and place on block. Trace the backside of the tracing paper with the pencil. This should transfer your design to the block.
You can also iron on if you have a laser printer. Print the image out then place it onto the block with ink facing the block. Iron the back of the paper on a low setting.
3. Cut out your design
Make sure to hold onto the block and cut away from yourself.
Start with large areas of blank space first using large blades.
Work outside in and use increasingly smaller blades and get into details.
4. Print your design on fabric or paper
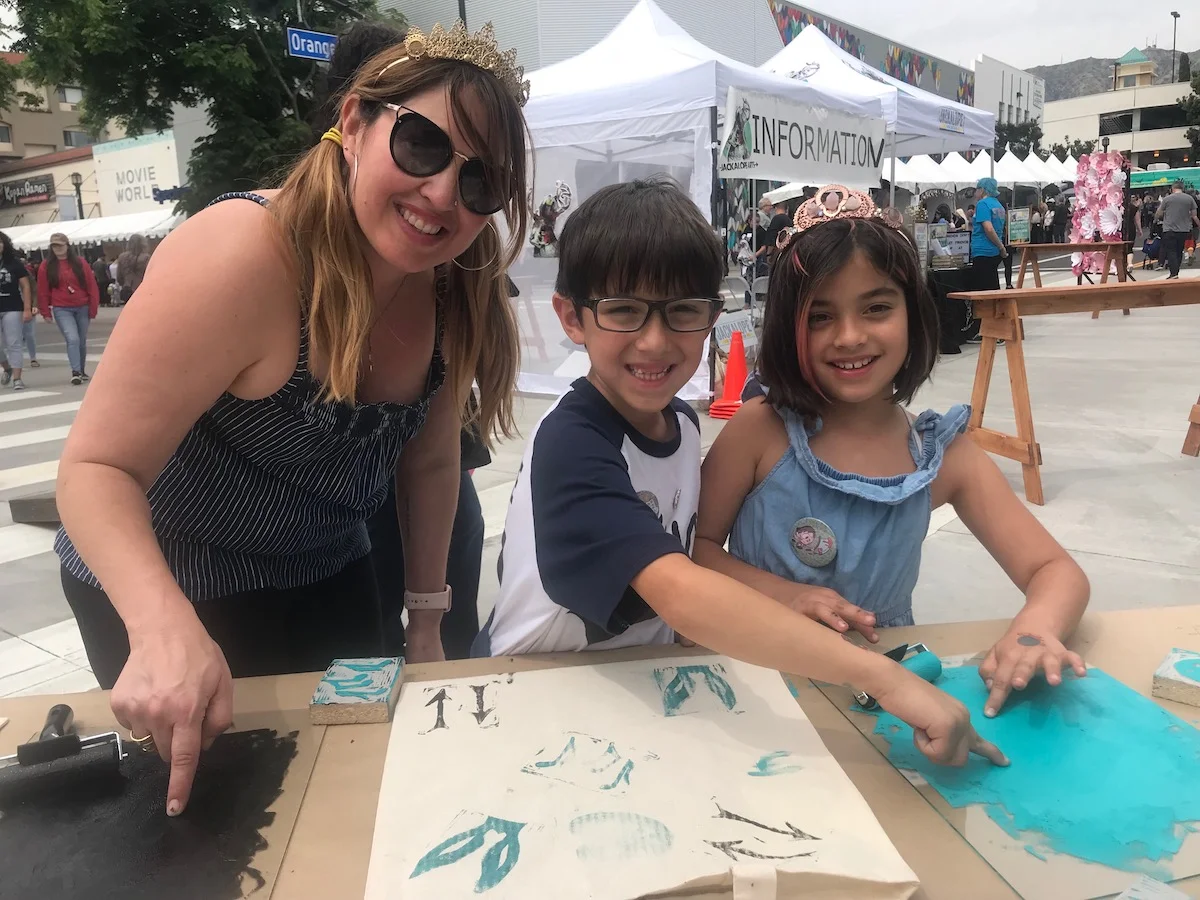
Spread out your ink on plexi glass with a rubber brayer.
Evenly spread ink on your block.
Print a test proof and adjust your block until you are satisfied.
Print on your final paper or fabric. Make sure to have a hard surface under your fabric.
SHOP Block Printing & SUPPLIES
Block Printing INSPIRATION
Tag us on instagram @distillcreative and share your final project! #distillcreative #blockprinting


